Key points
- Choose from four main features on the Disability and Health Data System (DHDS) home page to access disability and health data: Explore Data by Location, Explore Data by Indicator, Comparison Report, or DHDS Data Portal.
- Use the DHDS Data Portal to download data, create filtered datasets, or design custom data visualizations tailored to your specific needs.
Overview
To view data available in Disability and Health Data System (DHDS), begin by choosing one of four features from the home page:
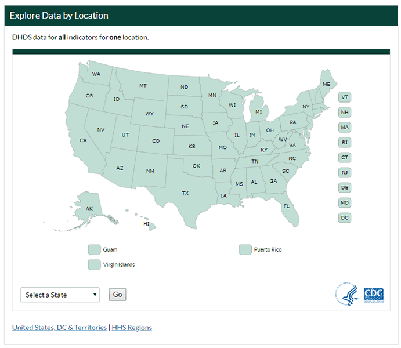
- Explore Data by Location
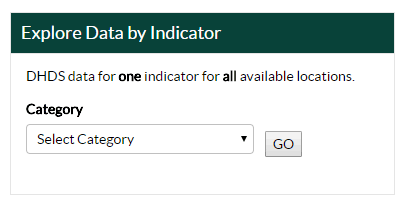
- Explore Data by Indicator
- Comparison Report
- DHDS Data Portal
Continue reading to learn how to use each of the four features.
Explore Data by Location

Step 1: Select a location from the drop-down menu in the Explore DHDS Data by Location section on the home page and click "Go," or click on a location on the map.
Step 2: View your selected data. The data panels will initially display Disability Estimates data for your chosen location.
Step 3: Change the displayed data panels. Choose a different location or category from the drop-down menus and click "Go." Click the "Select indicators to view" link to pick the indicators you want to see in the data panels.
Step 4: Customize your data view. Choose different options from the View by and Response drop-down menus to customize the data displayed in each panel. Toggle between chart and table views by clicking the Table and Chart buttons in the upper right corner of each panel.
Explore Data by Indicator

Step 1: Select a category from the drop-down menu in the Explore DHDS Data by Indicator section on the home page and click "Go."
Step 2: View your selected data. A map will initially display data for the category you chose.
Step 3: Change the displayed data. Choose a different category from the drop-down menu and click "Go," or select a different indicator from the drop-down menu.
Step 4: Customize your data view. Choose different options from the View by and Response drop-down menus to tailor the displayed data. Toggle between map, chart, and table views by clicking the Map, Chart, and Table buttons in the upper right corner of the panel.
Comparison Report

Step 1: Click the “Comparison Report” link in the Comparison Report section on the home page.
Step 2: Select your report type. Choose to compare by location, demographic group, or year by selecting the corresponding radio button. If you select demographics or year, choose an option from the associated drop-down menu. Then, select a location from the Location drop-down menu and click “Go.”
Step 3: View your selected report. The report will initially display data for all indicators for the location you chose.
Step 4: Change the displayed report. Select a different radio button for location, demographics, or year, or choose a different location from the drop-down menu and click “Go.”
Step 5: Customize your report. Click the “Show Options” link to filter the data shown in your report or to select display options, then click “Update.” Click the “Add/Remove” button to add or remove comparison groups.

