Purpose
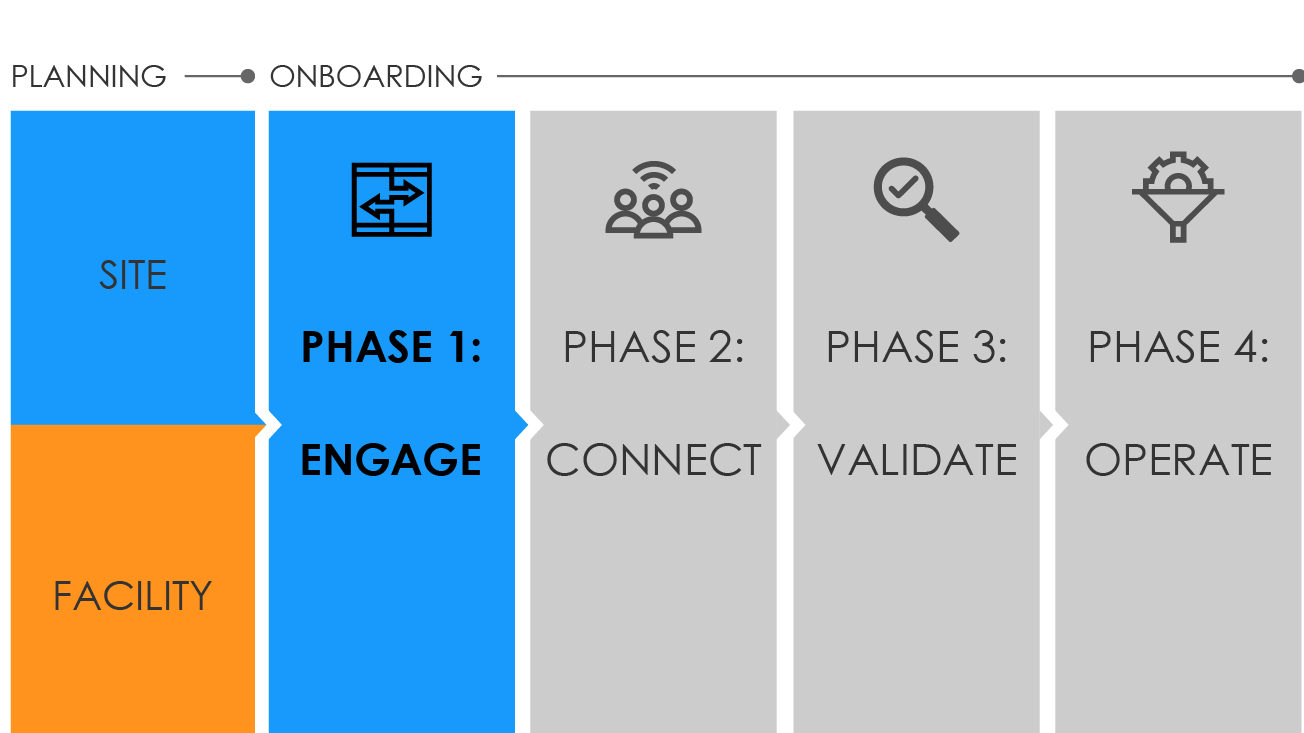
Engage is the first of four onboarding phases for the NSSP BioSense Platform. During this stage, sites will manage the list of onboarding facilities, placing highest priority on emergency departments and urgent care facilities.
The process
This content is part of a series of online job aids related to onboarding. These resources are meant to be used together along with New Site Onboarding — The Complete Guide.
Download the job aid: Phase 1: New Site Steps to Engage
Onboarding is a collaborative process in which the NSSP and site teams work with a facility, health department, electronic health records vendor, or health information exchange to transmit syndromic data from medical record systems to the NSSP BioSense Platform.
This guide will walk site administrators and feed administrators through activities that must be completed before connecting to the BioSense Platform. During the engage phase, sites will manage the list of onboarding facilities, placing highest priority on emergency departments and urgent care facilities. Sometimes the site administrator will oversee the feed administrator's tasks.
| SITE ADMINISTRATOR | FEED ADMINISTRATOR |
| STEP 1: Confirm upcoming onboarding windows. Email nssp@cdc.gov, or create an NSSP Service Desk ticket requesting to onboard a site. NSSP will notify you of upcoming new site onboarding windows. | STEP 1: Coordinate with the site administrator to prepare facility for onboarding and develop HL7® messages per syndromic surveillance messaging guidelines (see Onboarding Guide, page 8). |
| STEP 2: Identify feed administrator (primary contact) for setting up facility connection. | STEP 2: Set up service-level agreements, as needed. |
| STEP 3: Engage with facilities you want to onboard during the new site onboarding window, prioritizing emergency department (ED) facilities. | STEP 3: As an ONC requirement, submit at least two test messages of each HL7® message type to the NIST validation tool. Validate the following message types and confirm successful results:
For message formatting details, see PHIN Messaging Guide 2.0. |
| STEP 4: Review deadlines associated with grant, cooperative agreement, or other funding mechanism (if applicable). | STEP 4: Submit successful results to site administrator. |
| STEP 5: Review NIST HL7® validation results with feed administrators for each facility that will be onboarded (see Onboarding Guide, page 8). | STEP 5: Review NIST HL7® validation results with site administrator. |
| STEP 6: Attend New-site Onboarding Kickoff Webinar. Afterwards, NSSP will provide the new-site onboarding schedule containing deadlines and requirements. | |
| STEP 7: Establish service-level agreements with facilities as needed. Examples include Facility BOPA and DUA. Site and facility BOPAs can be found in the Onboarding Guide. | |
| STEP 8: Request an Access & Management Center (AMC) account by submitting a ticket to the NSSP Service Desk. | |
| STEP 9: Update the site Master Facility Table (MFT) to include facilities you want to onboard. Set facility status to Onboarding. To add a new facility, see the Master Facility Table Quick Start Guide. |
- HL7® and FHIR® are the registered trademarks of Health Level Seven International, and their use of these trademarks does not constitute an endorsement by HL7.